How to Build a Floating Dock Yourself
Building a DIY floating dock takes careful planning, elbow grease, a little help from your friends, and a good measure of determination. It may sound intimidating, but a successful floating dock build is within reach of any handy homeowner!
Let’s take a look at the process of building a floating dock.
10 Steps to Building a DIY Floating Dock
Here is a ten-step guide to building a floating dock yourself:
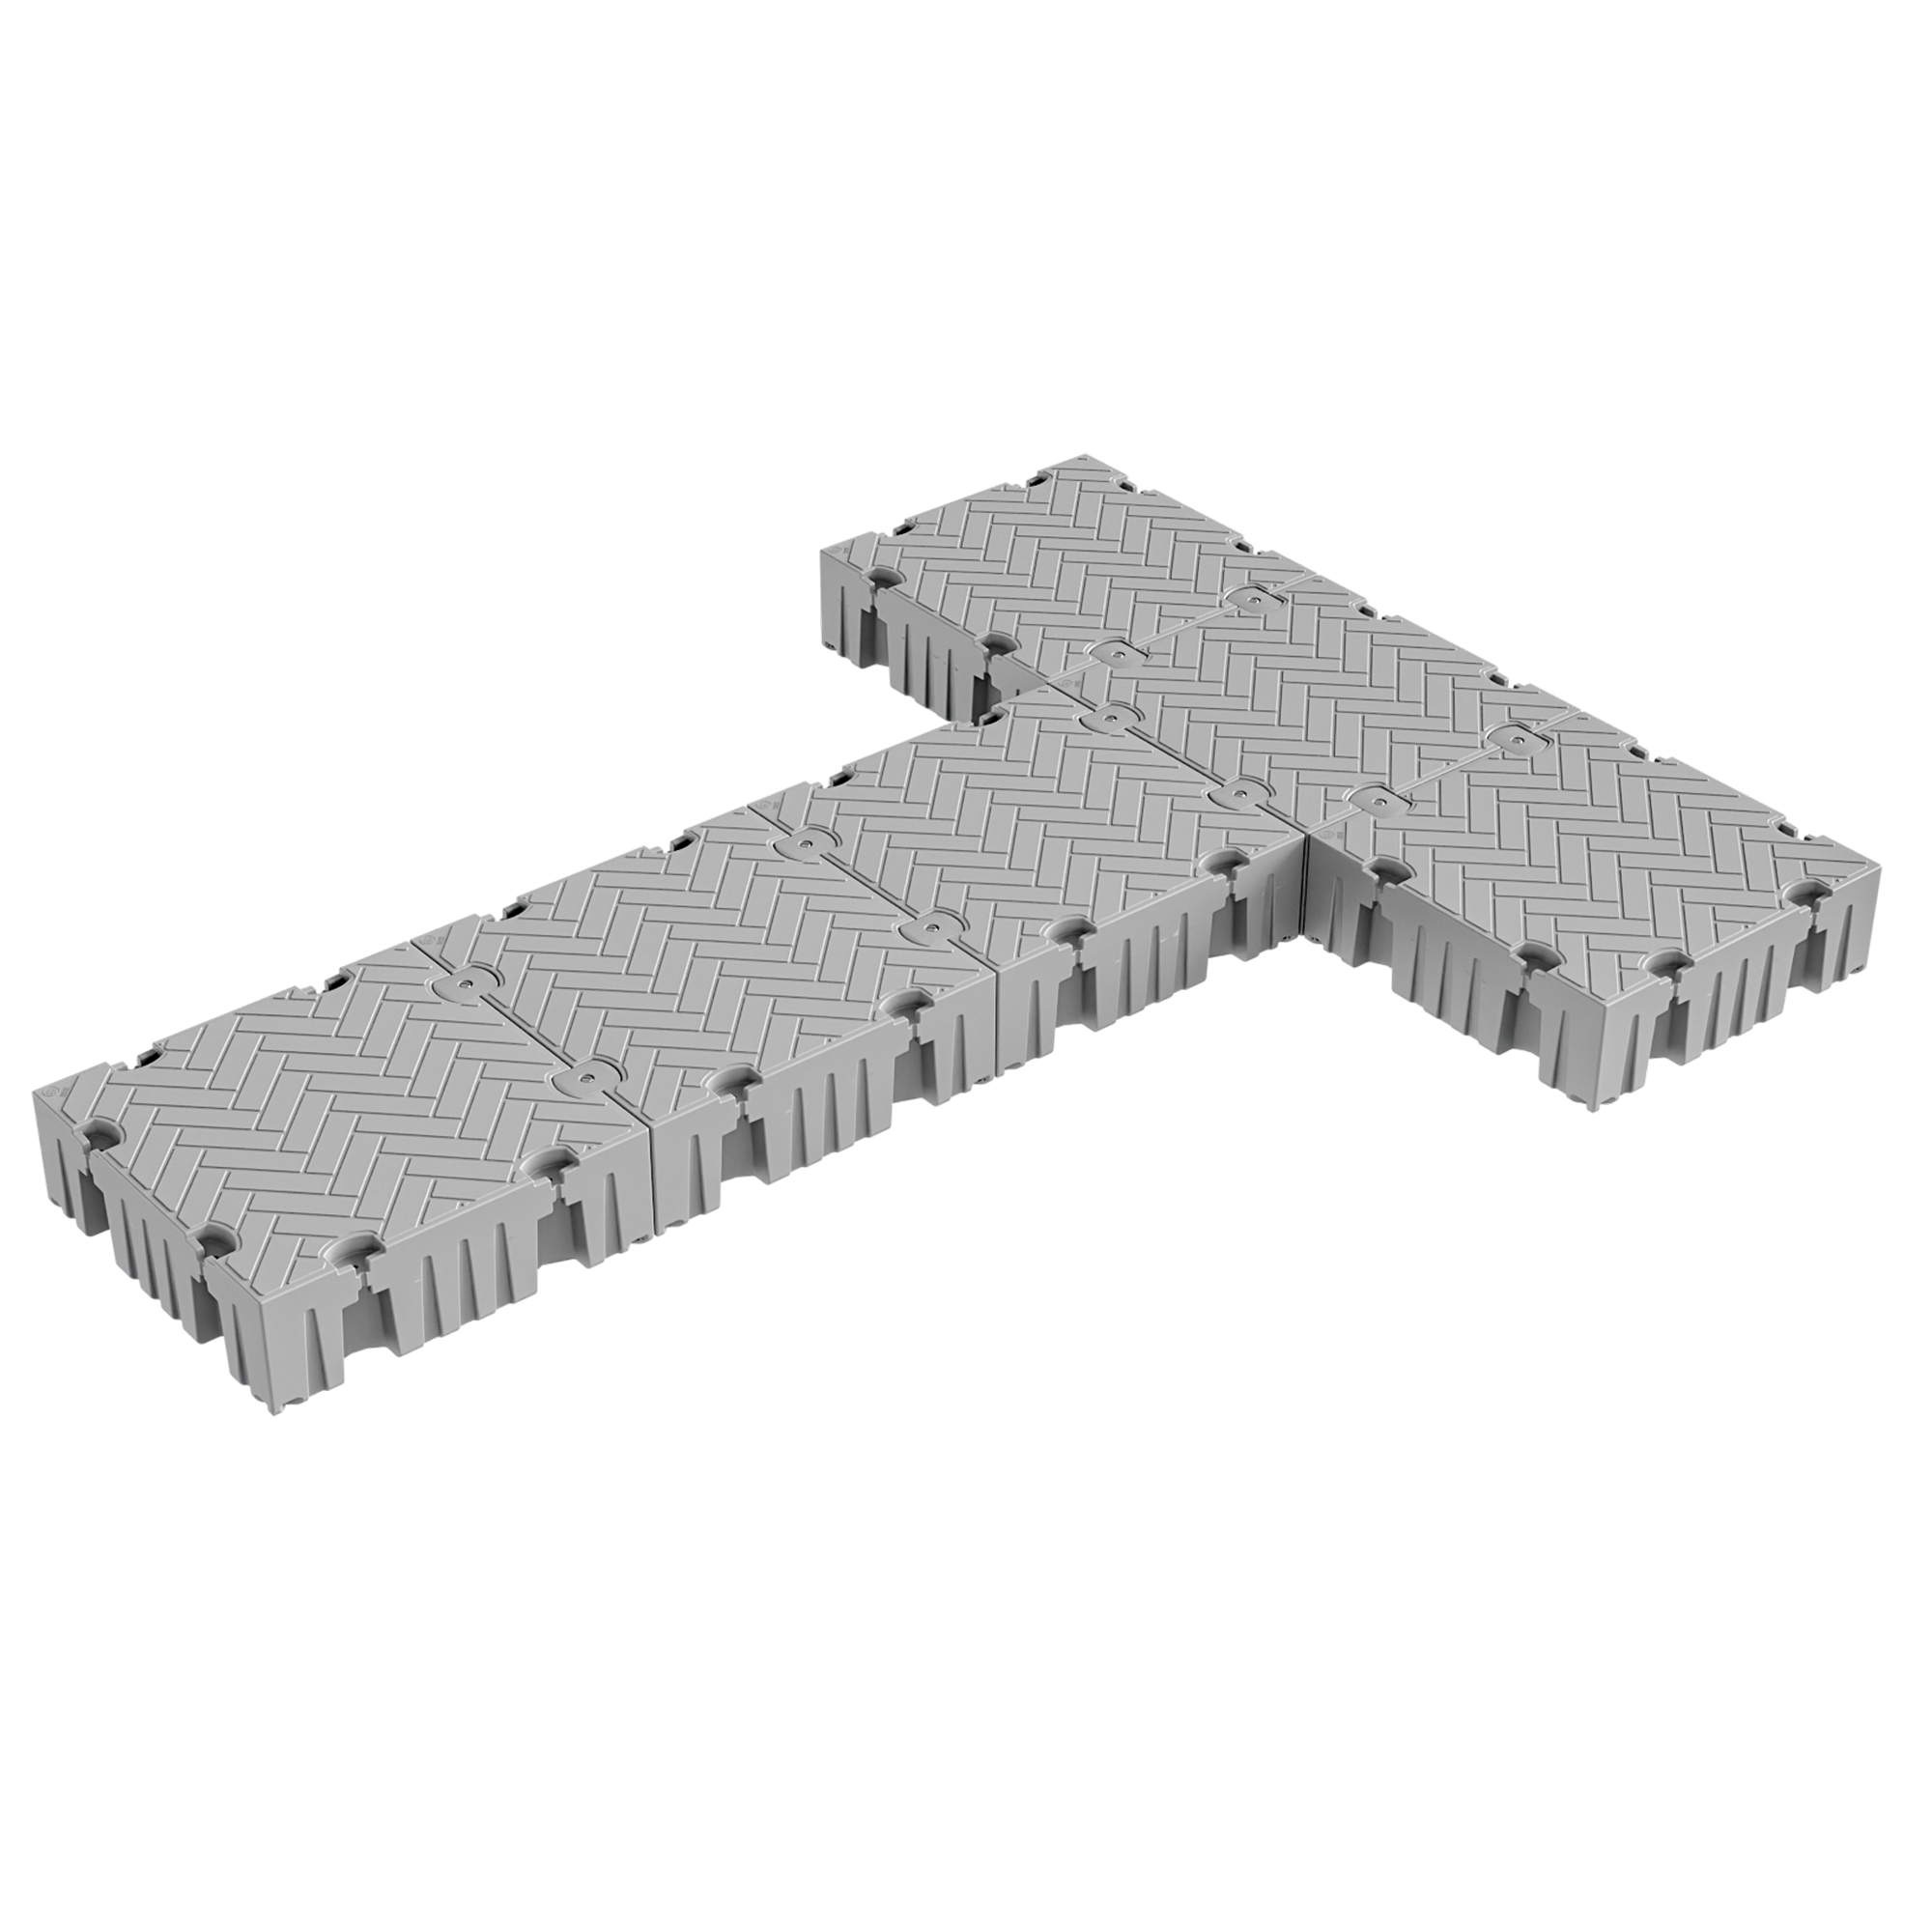
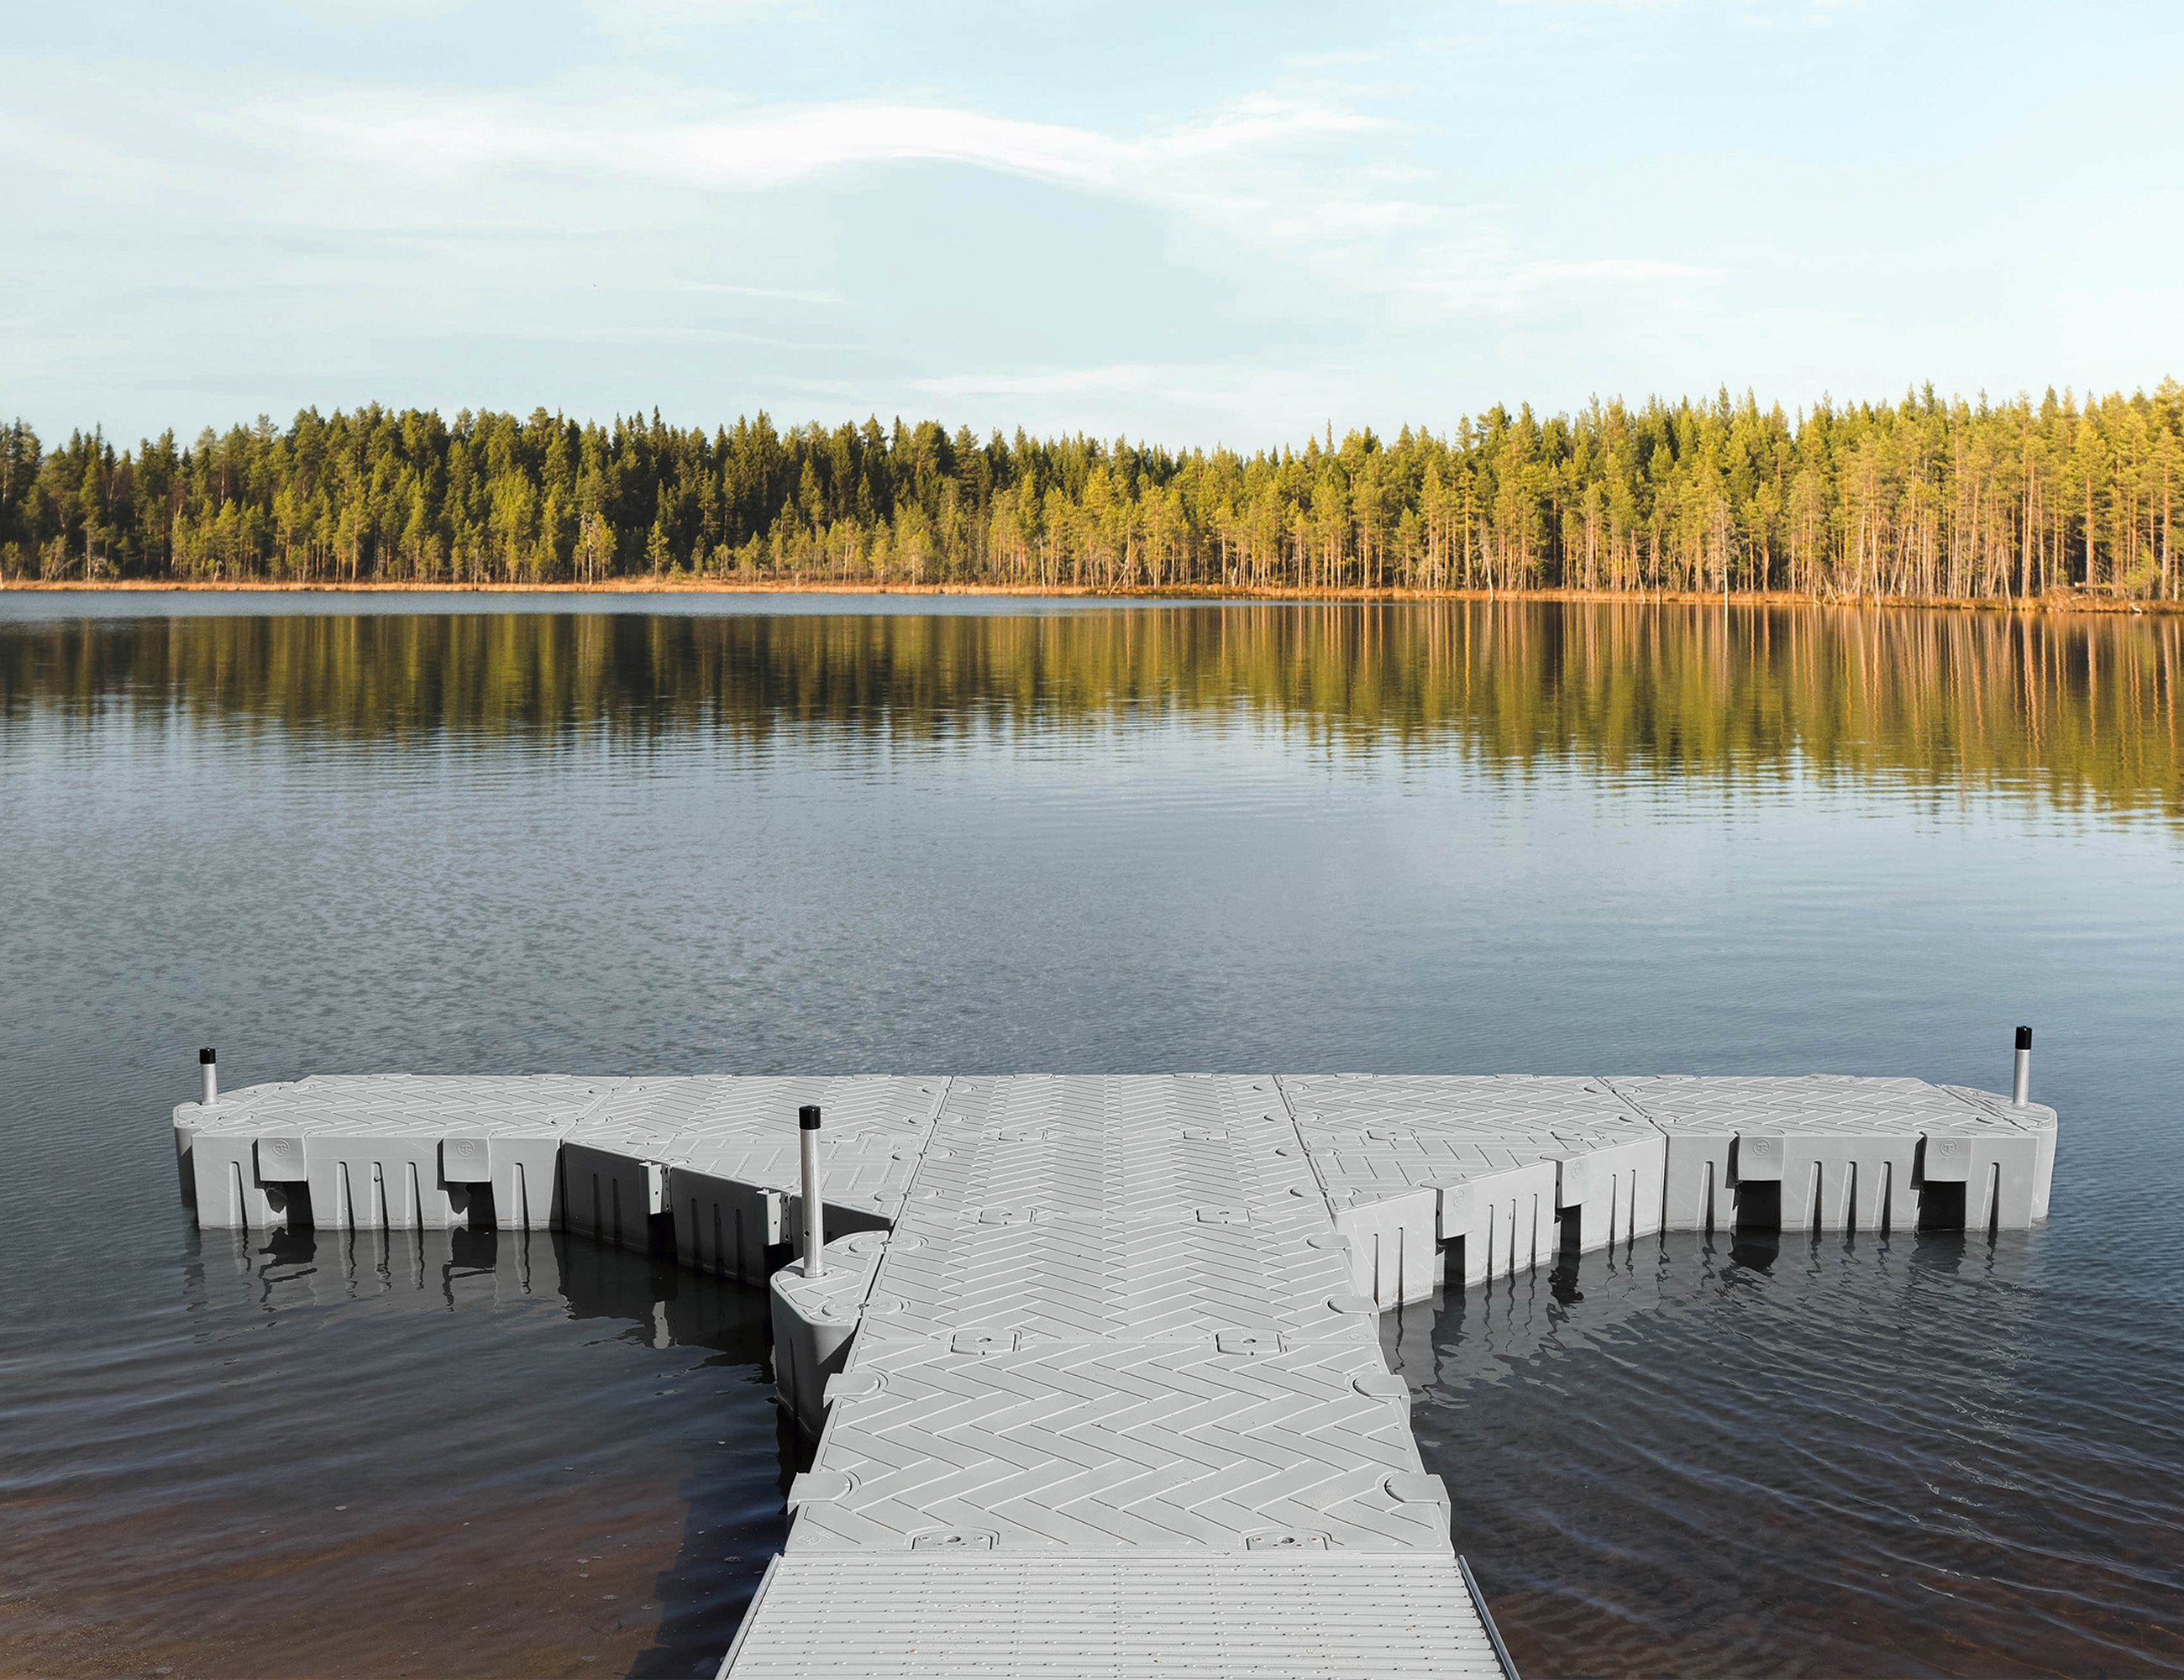
Step 1: Choose Your Floating Dock Layout
First, choose the style of dock you want (square, straight, U-shaped, T-shaped, etc.), decide on what type of decking you will use, and then calculate your materials list accordingly.
Step 2: Gather Your Floating Dock Materials & Tools
Second, start shopping for your materials.
Here are some items you might need on your floating dock materials list:
- Dock float drums
- Dock decking and framing of choice (pressure treated lumber, composite, etc.)
- Pipe guide
- Hardware, including brackets, hinges, corner braces
- Fasteners, including screws, nails, bolts, and washers
- Floating dock anchor
- Dock bumpers
- Optional accessories (kayak and paddleboard racks, ladder, etc.)
Here are the tools you’ll likely need:
- Cordless drill with various drill bit sizes
- A level
- Measuring tape
- Chop saw
- Saw horses
- Hammer or nail gun
- Socket, standard, and auger wrenches
- Rope
Your material list and tool needs will vary depending on the specifics of your project.
Step 3: Build the Frame
Third, begin building the frame of the dock. You’ll want the bottom of the dock facing up. You can use saw horses to lift the frame or simply work on the ground. Create the outline of your dock and then attach stringers and supporting boards going the opposite direction.
Pro tip: Build the dock as close to the water as possible since it will be large and heavy to move.
Step 4: Attach the Floats
Fourth, attach your floats of choice to the bottom of the dock.
Step 5: Turn the Dock Over
Fifth, with help from some strong friends or a tractor, turn the dock over.
Step 6: Lay the Decking
Sixth, cut your decking of choice to size and lay it on the dock.
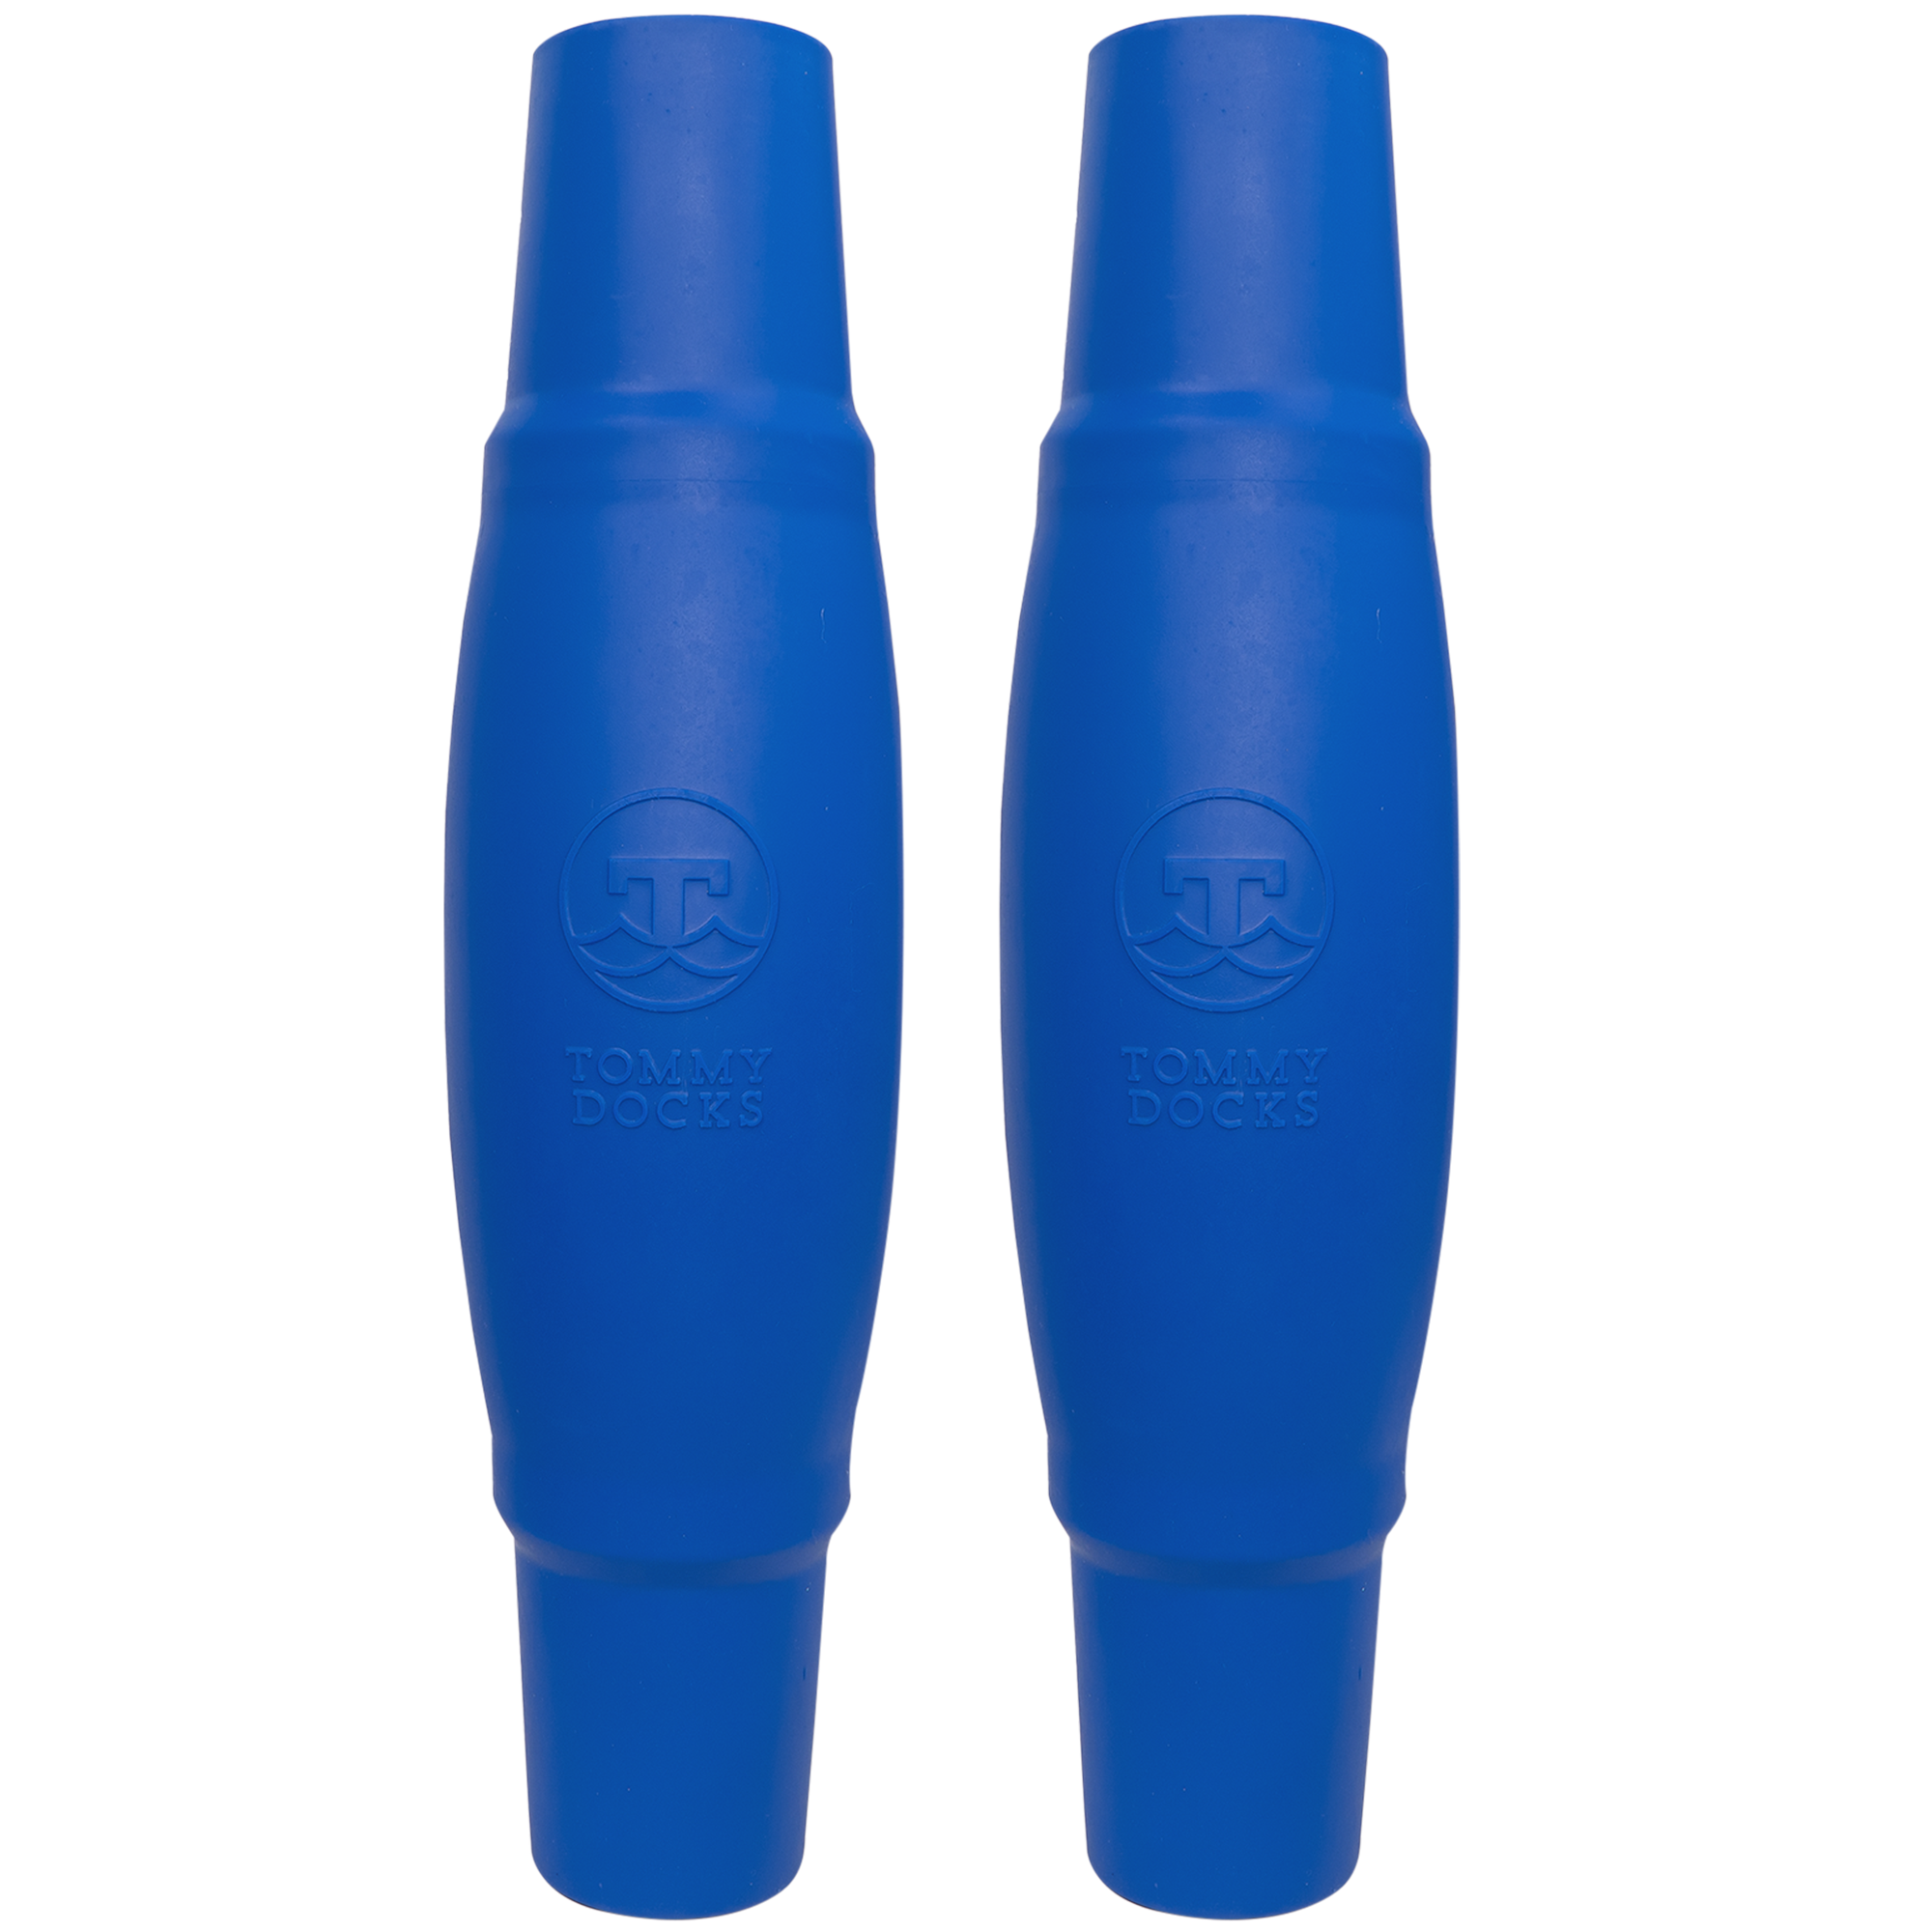
Step 7: Attach the Bumpers
Seventh, if using bumpers, attach them along the sides of the dock.
Step 8: Place the Dock on the Water
Eighth, carefully move the dock into the water.
Pro tip: If you use dock floats on wheels, it will be easier to transfer your dock to the water and remove it for winterization.
Step 9: Secure the Dock
Ninth, secure the dock by tethering it to a preexisting structure with a rope or anchoring it to the bottom.
Step 10: Add the Finishing Touches & Enjoy!
Tenth, add a ladder, lay out some beach towels and chairs, and dive in! Time to enjoy the results of your hard work!
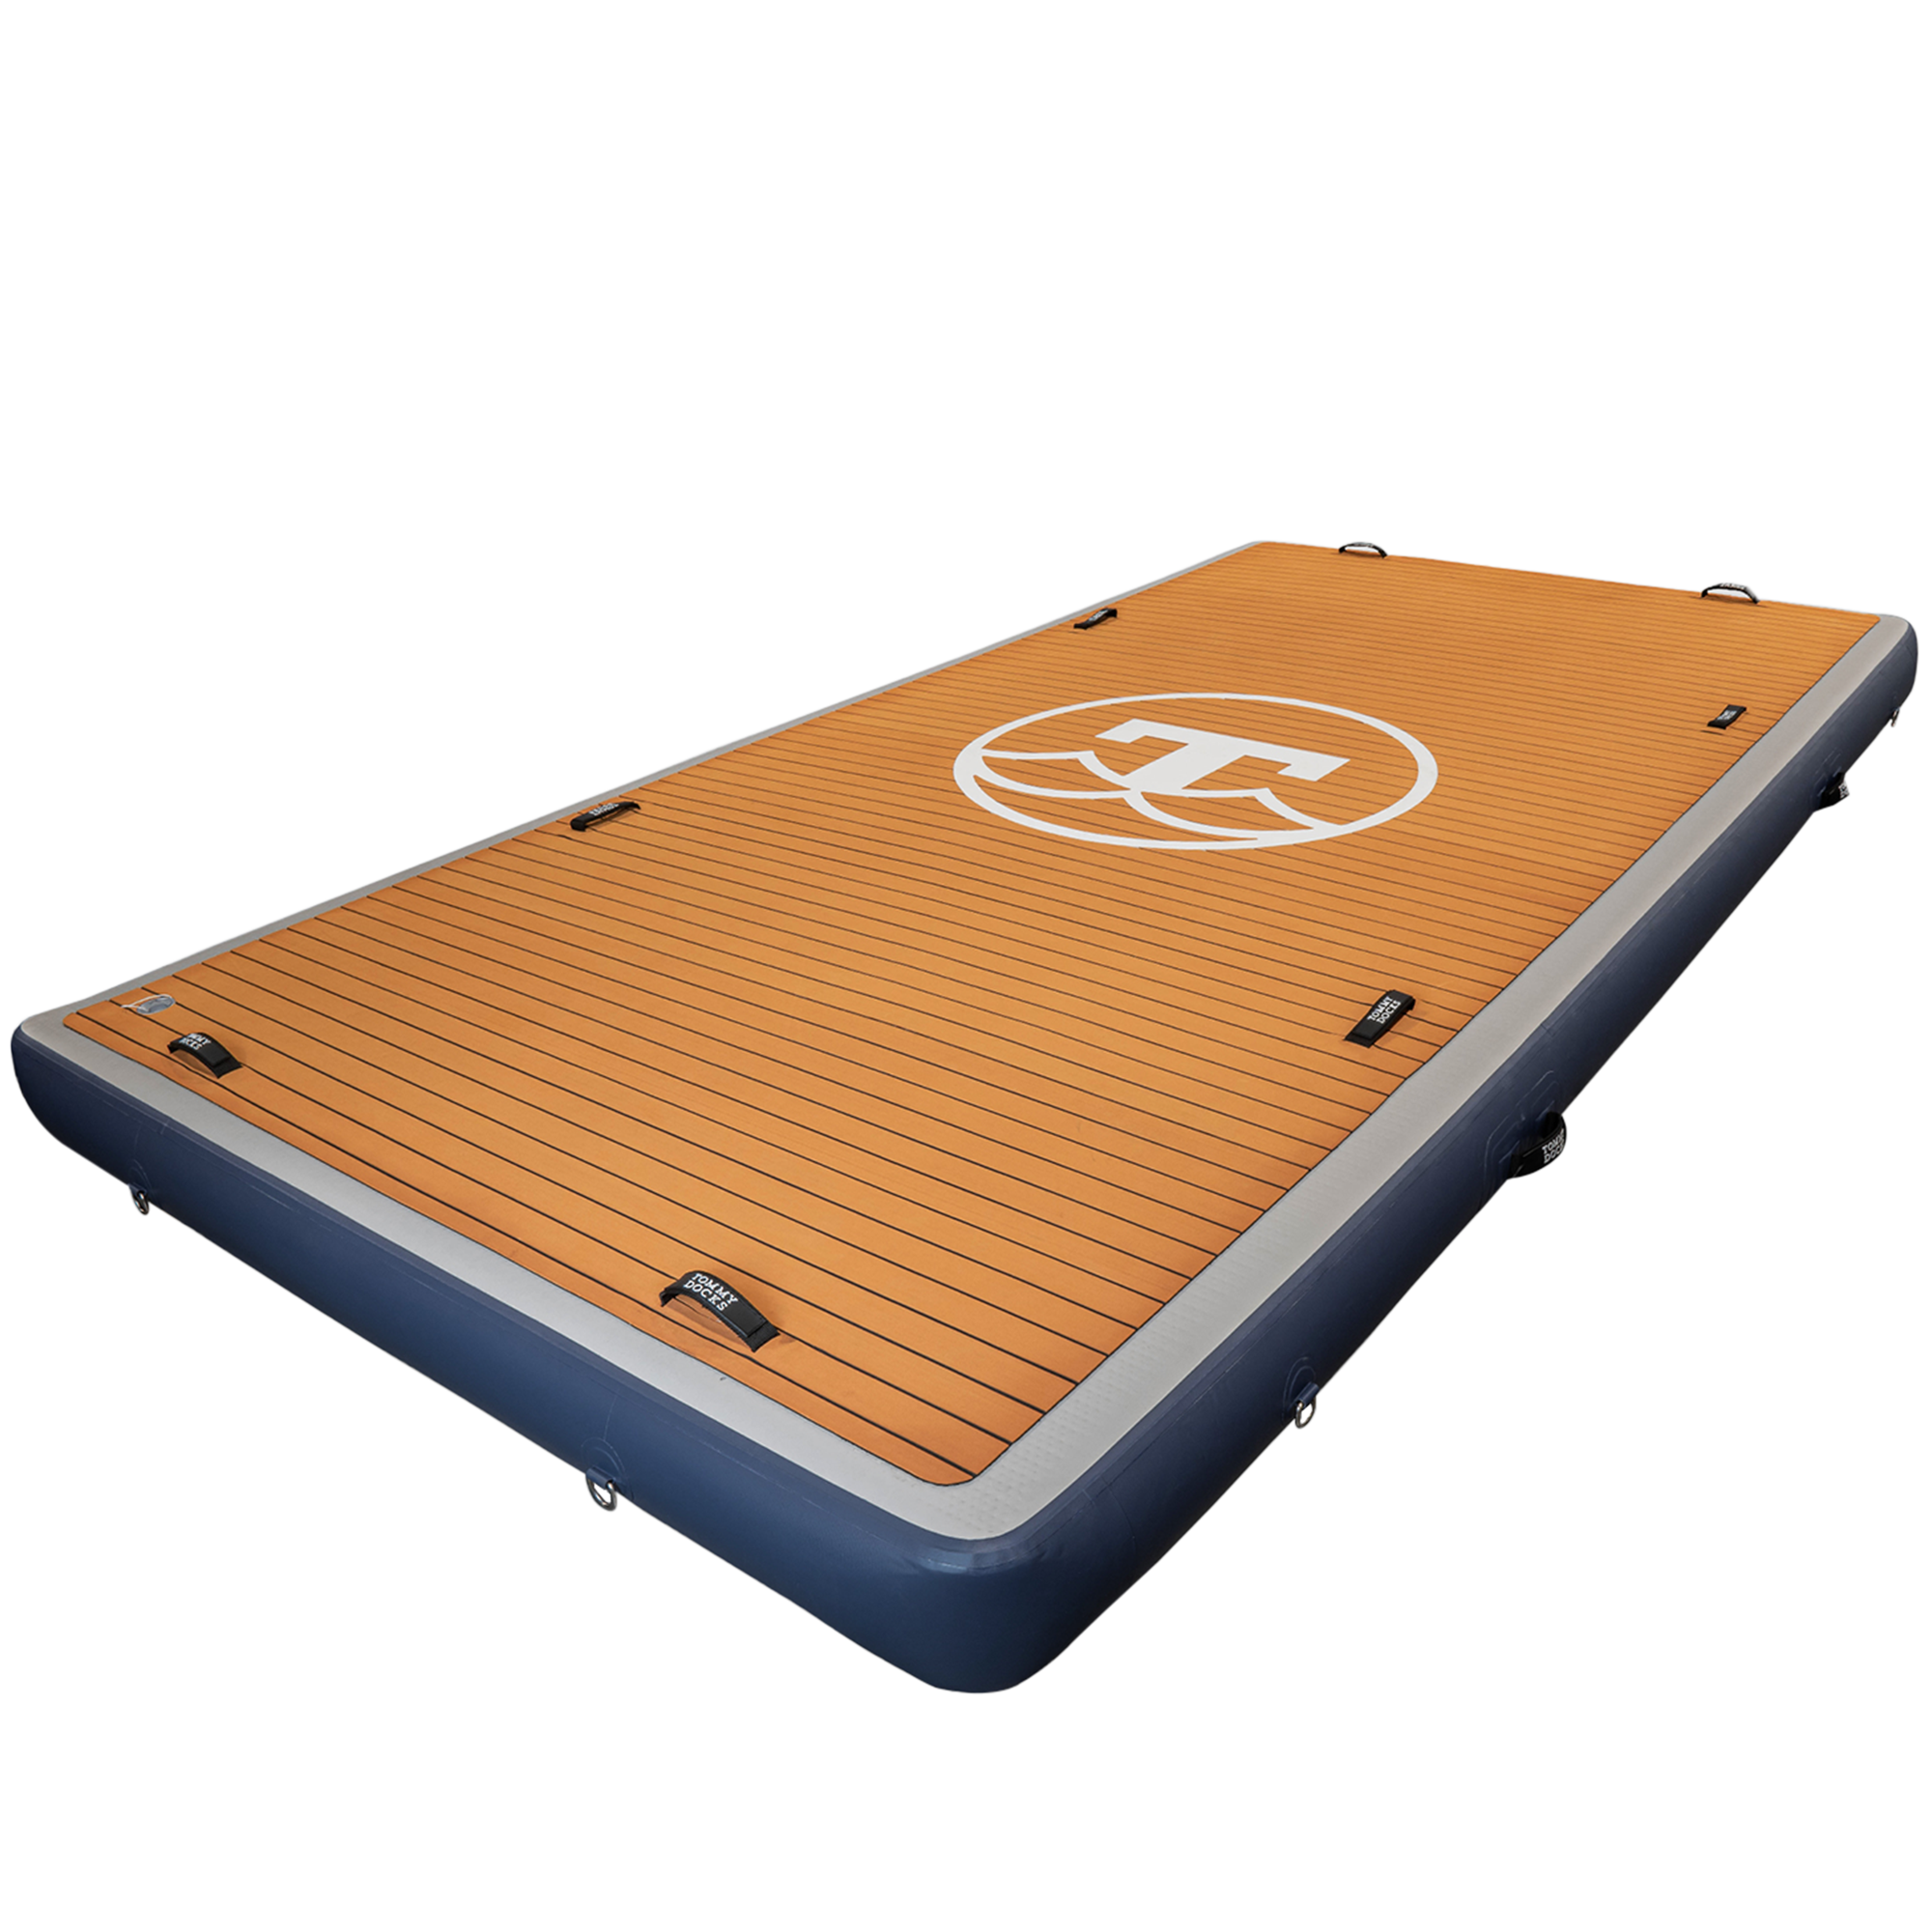
DIY Floating Dock Materials
While the specifics of your floating dock construction will depend on the style of dock you choose and the materials you use, the above steps should give a general outline of the process. Even though Tommy Docks has yet to offer a floating dock system package, we still have your back with a full catalogue of dock floats and hardware to help you with your project.
Shop our floating dock materials!