Would you like to replace your old dock with a new, improved version? Is your waterside home crying out for a beautiful dock to be installed?
Building a dock at your home allows you to enjoy the water, whether you’re in it or on it! We’ll show you that building your own dock is not as hard as you might think. With a high-quality dock package and some simple instructions, your family will be able to enjoy your waterfront property to the full.
Join us as we explore everything you need to know about how to build your own dock.
What Makes up a Boat Dock?
Docks sit on a level surface at the water’s edge. Brackets attached to the dock sections hold the dock pipes securely in place. The dock pipes attach to the lake bottom by one of two systems — footpads or auger feet.
Footpads are ideal when the lake bottom or river bed is made of firm, compacted sand or gravel. The dock pipes extend beyond the footpads and into the lake bottom, providing a secure footing for the dock.
Auger feet effectively screw into the lake bottom. You can use them when the conditions are too soft for regular footpads.
Once the first dock panel is securely in place, you can add further panels. There are many configurations available. You can also create customized dock configurations.
Before you begin, take time to evaluate your shoreline and aquatic environment. Is the water level consistent, or does it rise and fall seasonally? Do wind or waves create rougher conditions? These factors help determine how sturdy and stable your dock needs to be, and what kind of anchoring system you’ll want to use.
Select The Perfect Dock Package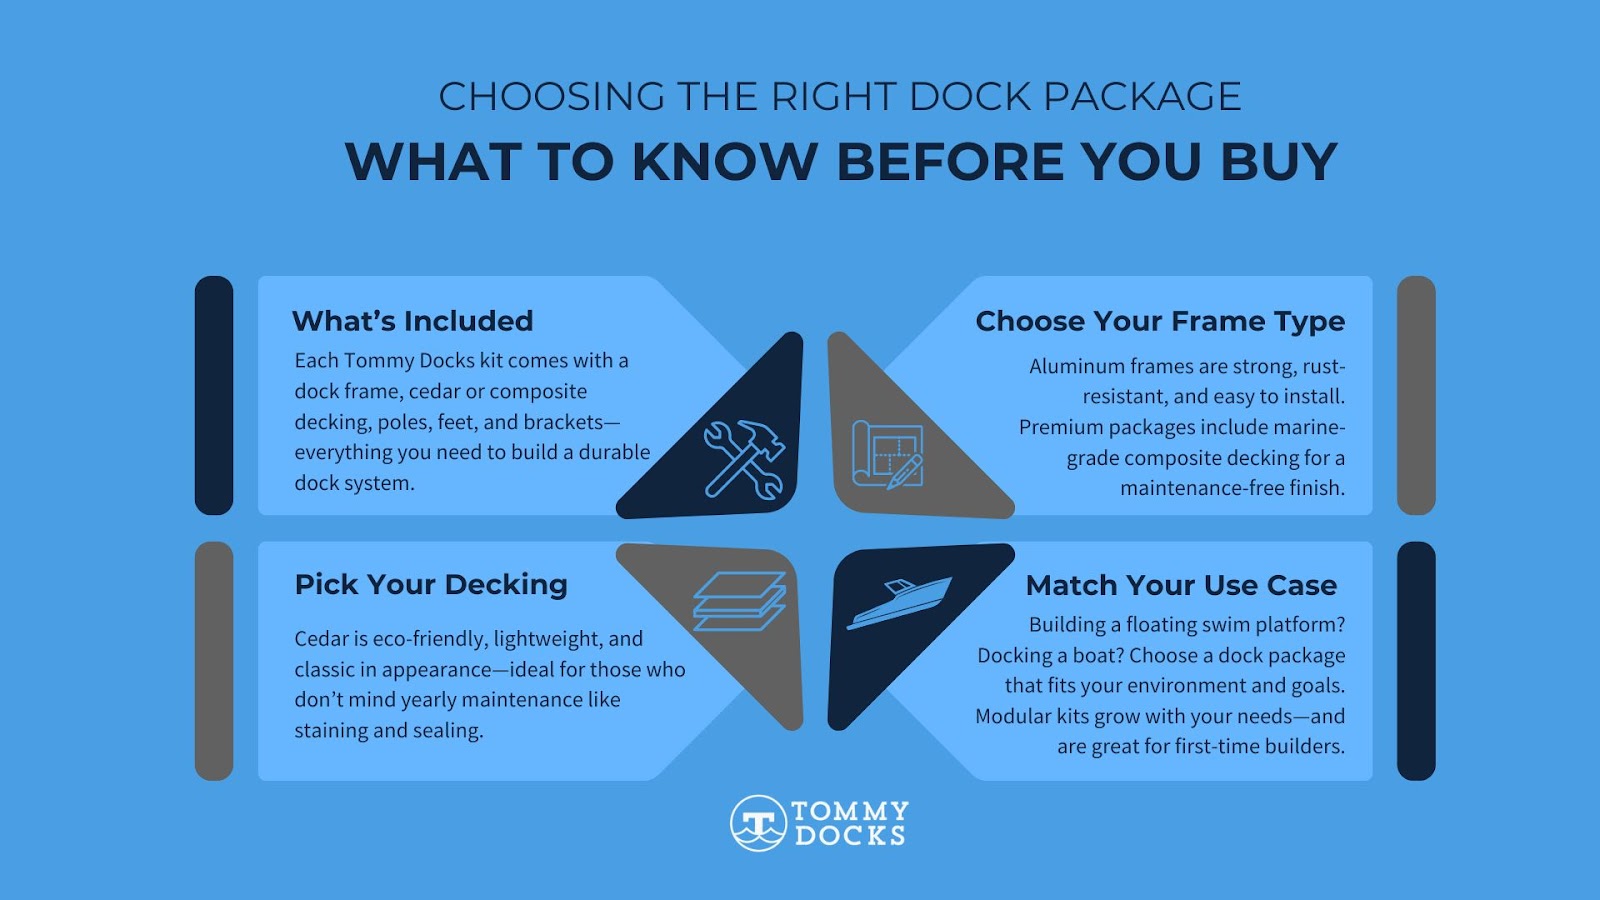
Modular dock systems from Tommy Docks provide everything you need to build your own dock at home. Packages include:
-
Dock frame
-
Cedar or composite drop-in panels
-
Deck poles and feet
-
Brackets
The best value options are wooden docks made of sustainable cedar. The wood is untreated and won’t harm the environment. It’s light and easy to work with but requires annual staining and sealing.
Aluminum framed docks are lightweight and easy to install. Cedar sections allow them to retain their classic looks.
Premium docks feature aluminum frames and marine-grade composite decking. This is the perfect choice for anyone looking for a maintenance-free dock.
When selecting a package, consider the purpose of your dock. A floating swim platform requires different materials and stability than a dock built for boat mooring. And if you anticipate expanding later, modular dock systems let you grow your dock over time.
If you’re a first-time builder, our dock kits are designed for simplicity, and our hardware options include stainless steel for maximum durability.
Which Configuration Is Best?
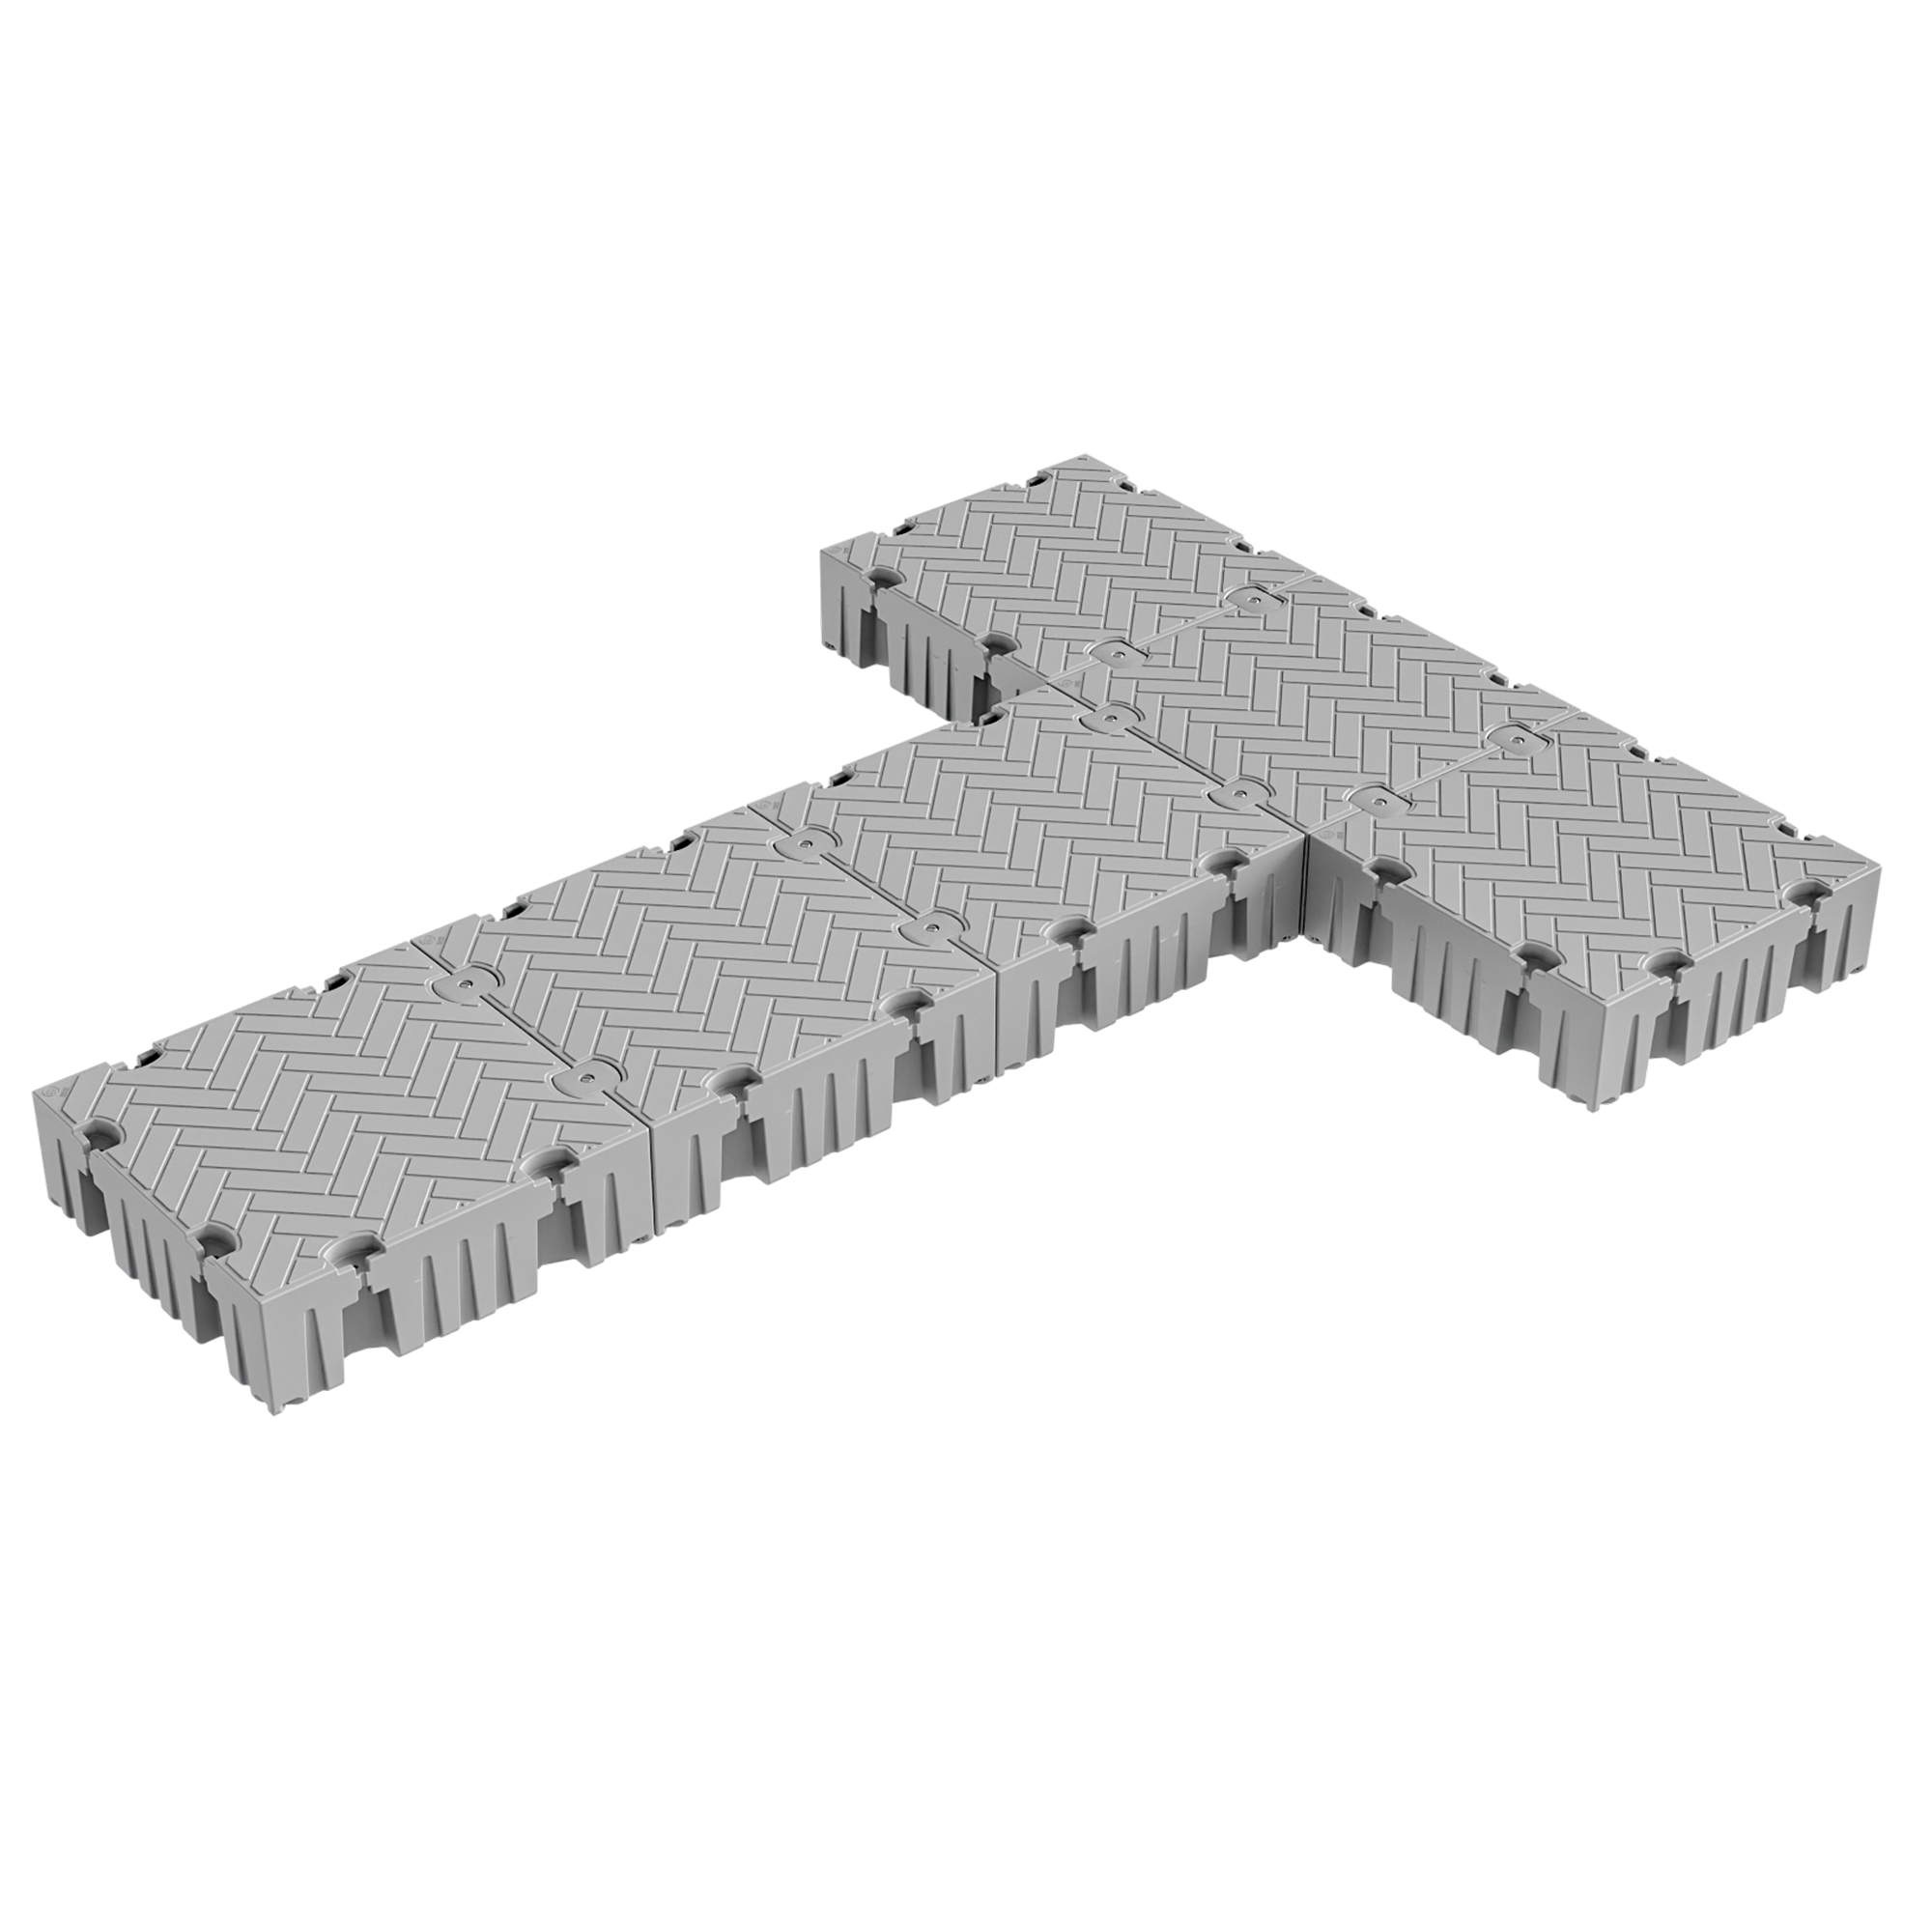
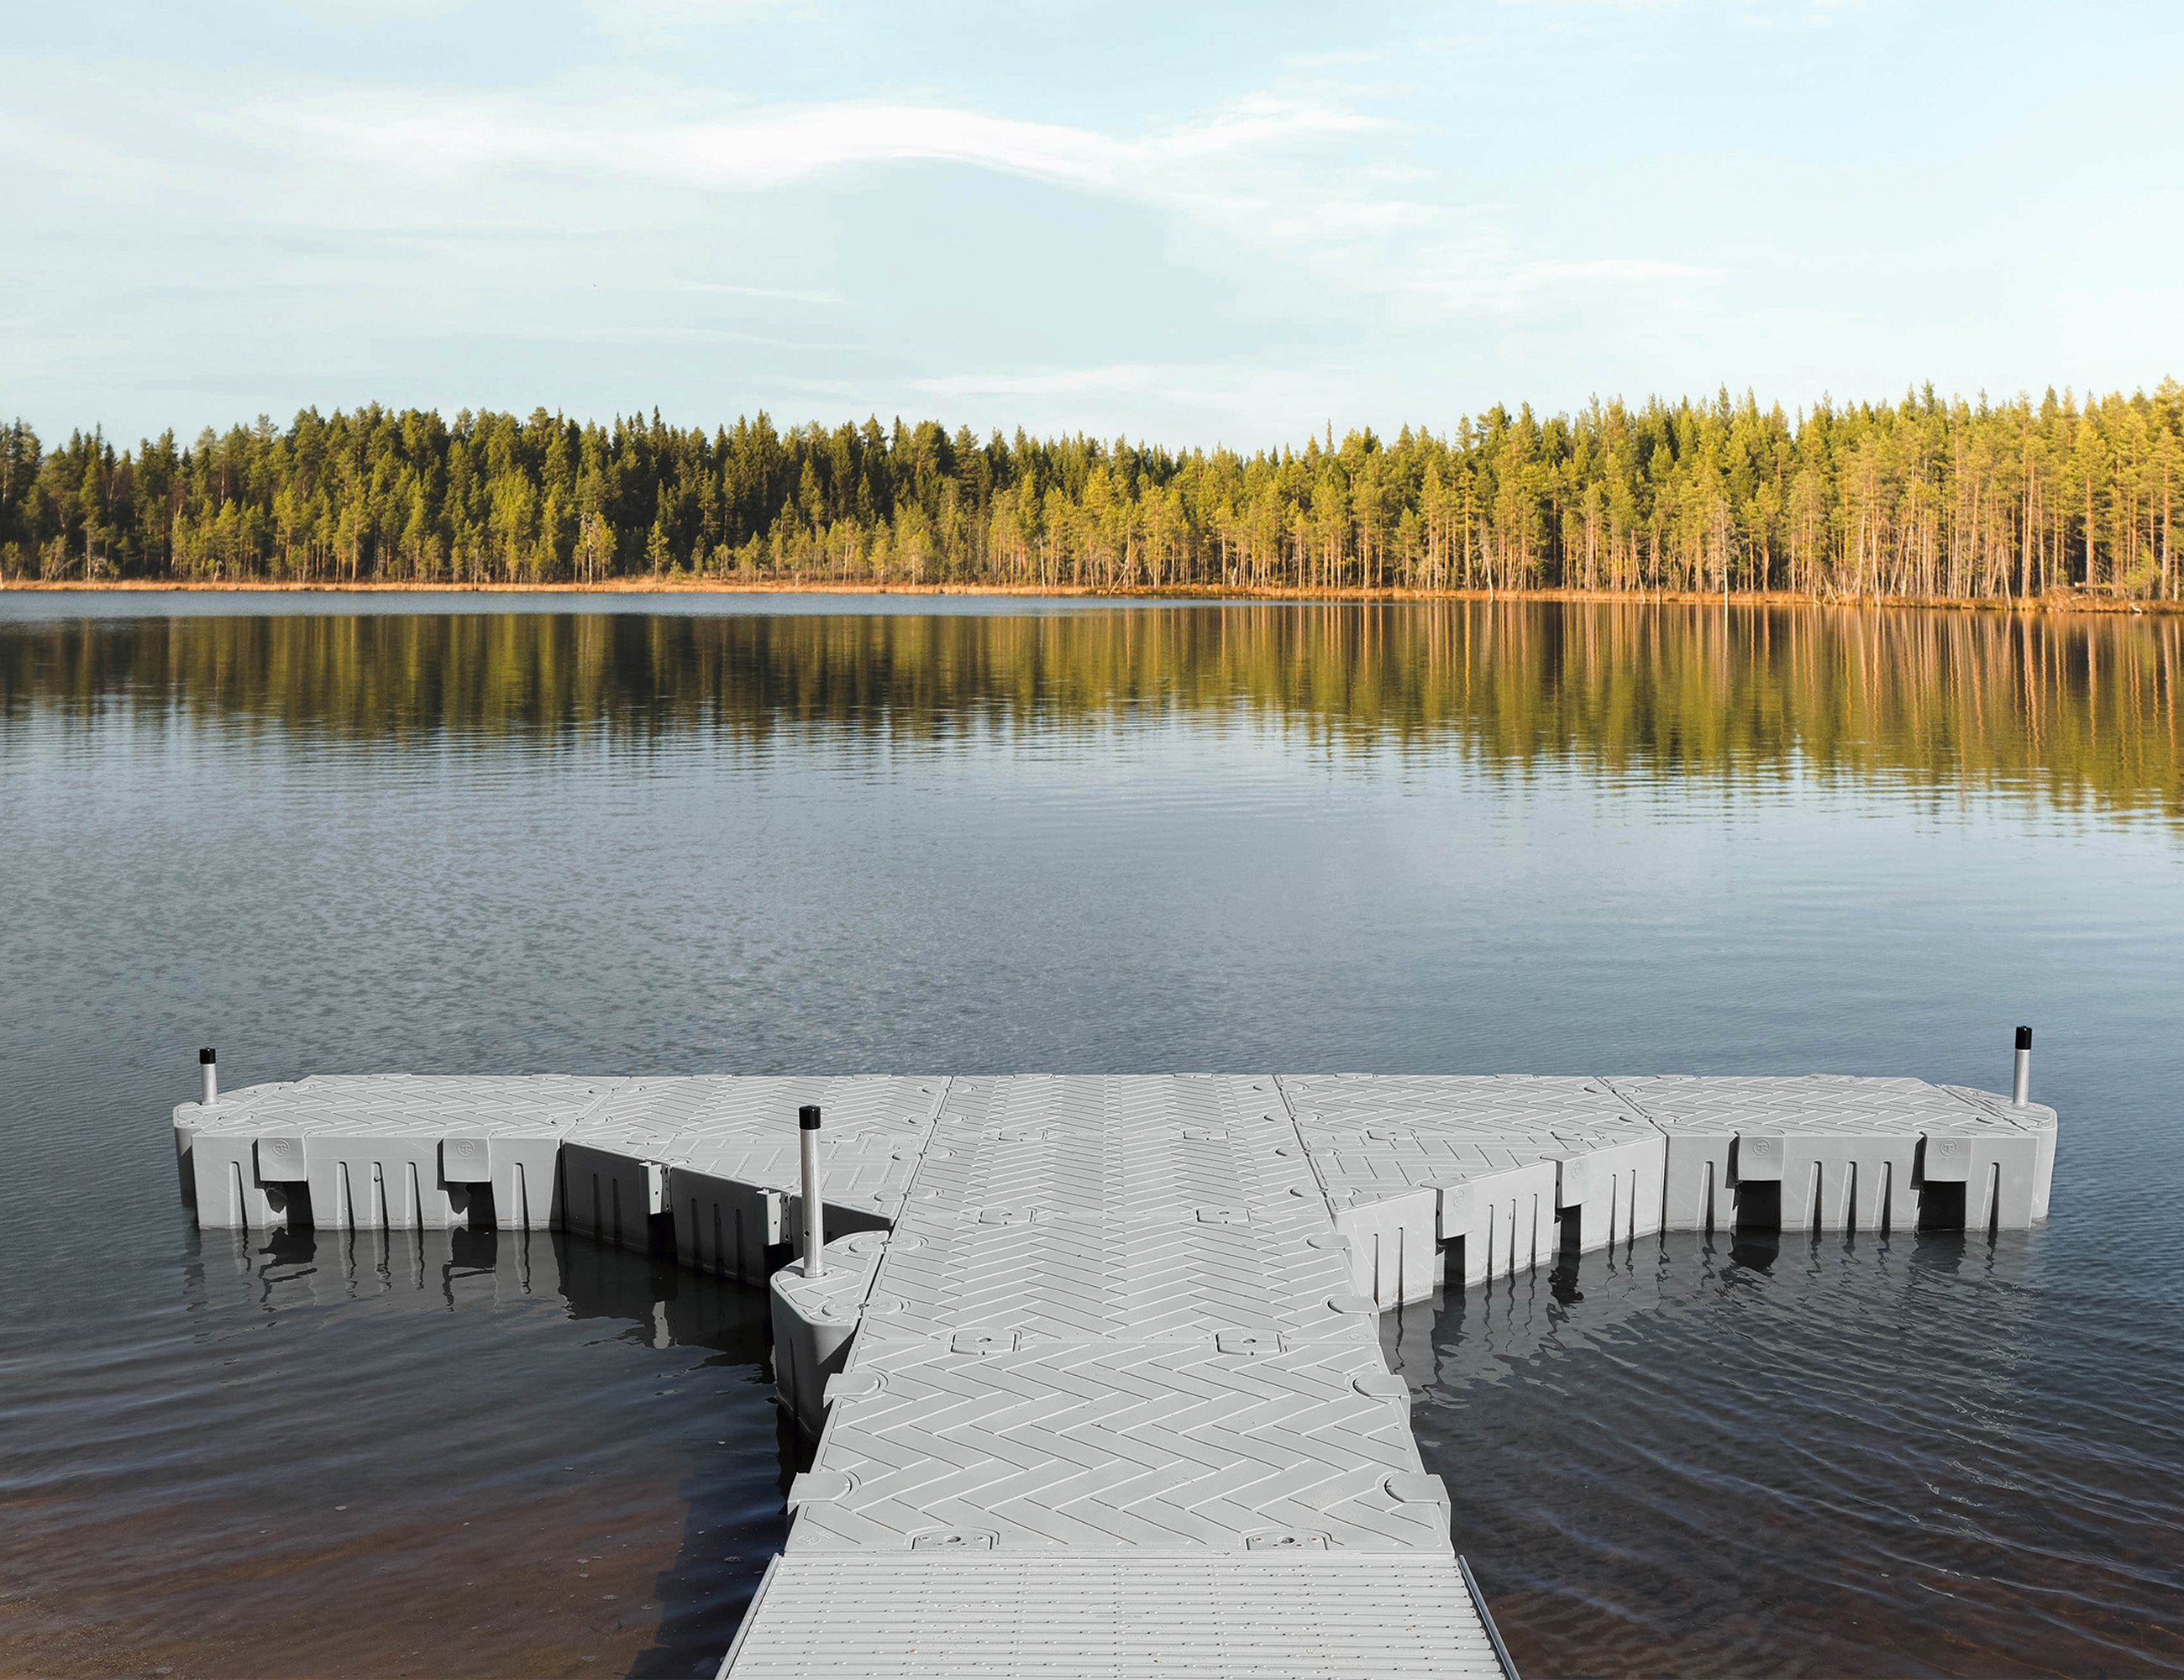
If you’ve got the space, there’s no need to limit yourself to a straight dock! At Tommy Docks, we offer T-shaped and L-shaped dock packages. If you still haven’t found what you’re looking for, you can add extra dock sections to create your own custom design.
Modular layouts also allow for creative future expansions, such as additional seating areas, a kayak launch, or an extended walking path out to deeper water.
Whether you’re building a stationary dock or a floating platform, flexible configurations help you adapt to changing water conditions.
Do I Need Normal or Heavy Duty?
In most cases, normal duty will be enough. However, heavy-duty is best in the following conditions:
-
Strong currents
-
Deep water
-
Windy conditions
-
Heavy boat traffic
-
Extreme weather conditions
What You Need to Build Your Own Dock — The Prerequisites
It’s possible to install your dock using regular household tools. You’ll need:
-
Cordless drill
-
½” drill bit
-
Level - 3’ or 5’
-
3/4” socket wrench
-
9/16” socket wrench
-
3/4” wrench
To make the process easier, safer, and more precise, consider investing in three additional pieces of equipment:
-
Auger wrench
-
Winch leveling system
These are all available on our website. This is definitely a two-person job, so call a buddy over to help.
Installing Your Dock: Step-By-Step Instructions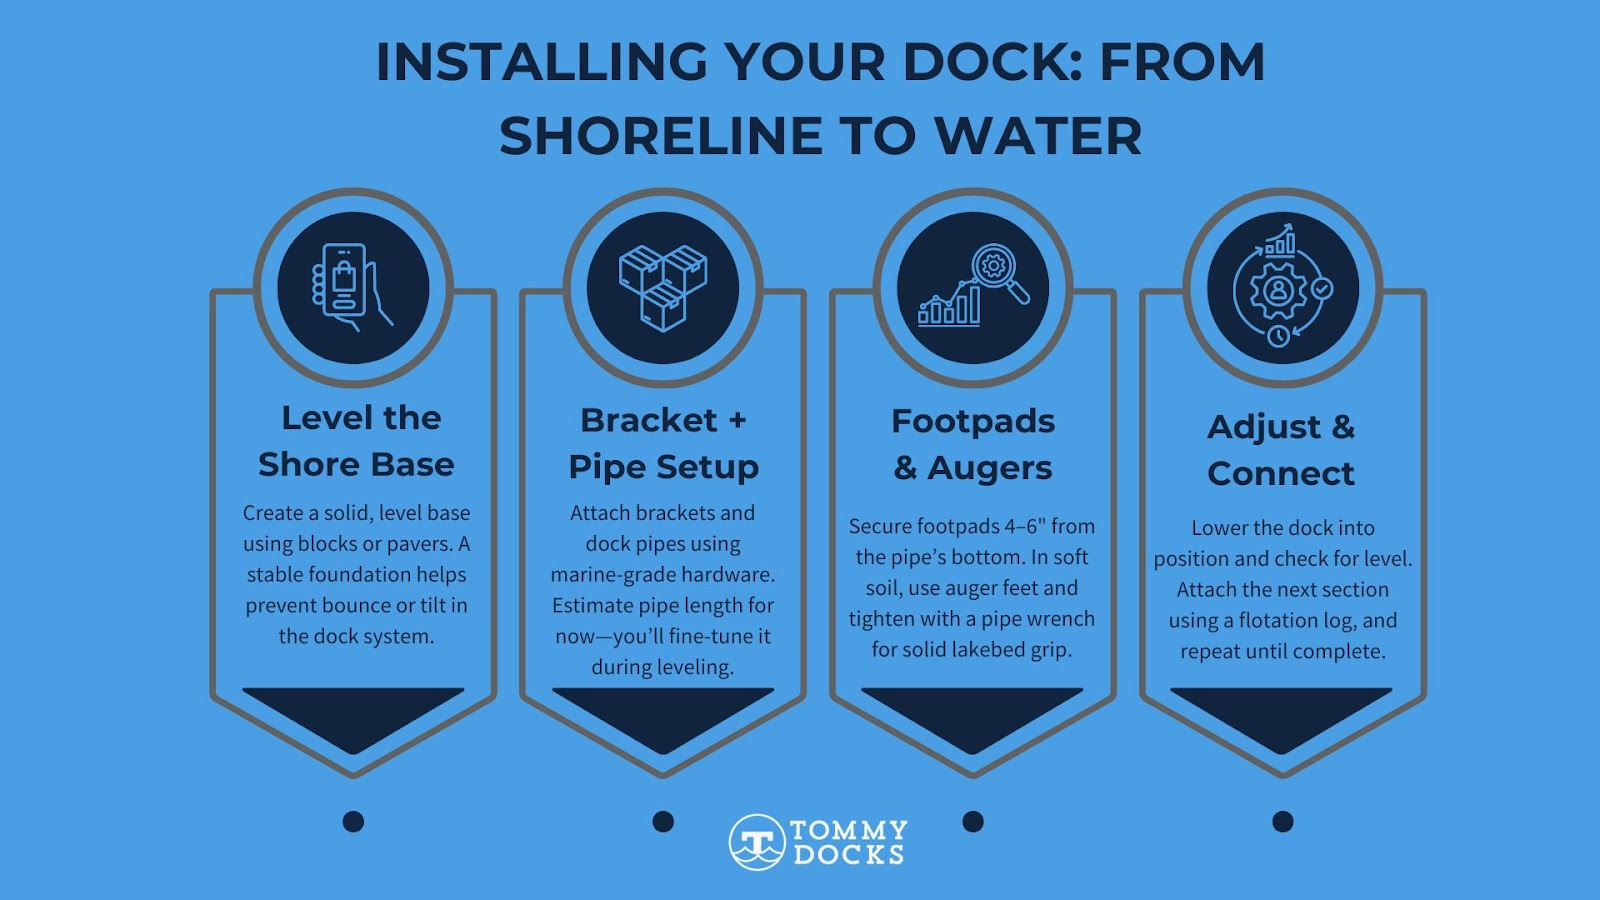
Create a Level Base
Start off by creating a solid, level base for the dock at the water’s edge. You can use blocks or pavers to do this. It’s essential to get it perfectly level so that the dock doesn’t sit unevenly and bounce when you walk on it.
Install the Brackets
Take your first section of the dock and remove the brackets from their packaging. The bolts are conveniently stored right in the pipe. Remove the orange cap to access them.
Position the bracket and drill the hole for the bolt (Note: drilling is only needed on cedar frames; all aluminum frames are pre-drilled). Insert the bolts and screw on the nut from the inside. Use the wrench to hold the nut in place while you tighten the bolt with the socket wrench.
Now insert the dock pipe. You’ll need to estimate the length at this point, but you can adjust it later.
Add the Footpads
Grab a footpad and position it 4–6” from the bottom of the dock pipe. This will allow enough clearance for the pipe to fix securely to the lake bottom. Tighten the footpad in position using the 9/16” wrench.
If the lake bottom is loose soil, you will need to purchase and install auger feet. Attach the auger feet to the ends of the poles. If the lake bottom is soft, add footpads above each auger foot.
Use a pipe wrench to screw the auger feet into the lake bottom.
Level the Dock
When both brackets, dock pipes, and footpads are in place, lower the dock into position. It’s crucial at this point to get it totally level. You will need to adjust the dock pipes to do this.
If you’d rather stay out of the water, the winch leveling system can help. It allows you to make adjustments from the dock level. When it’s level, you’re ready to add the next section.
Adding Sections
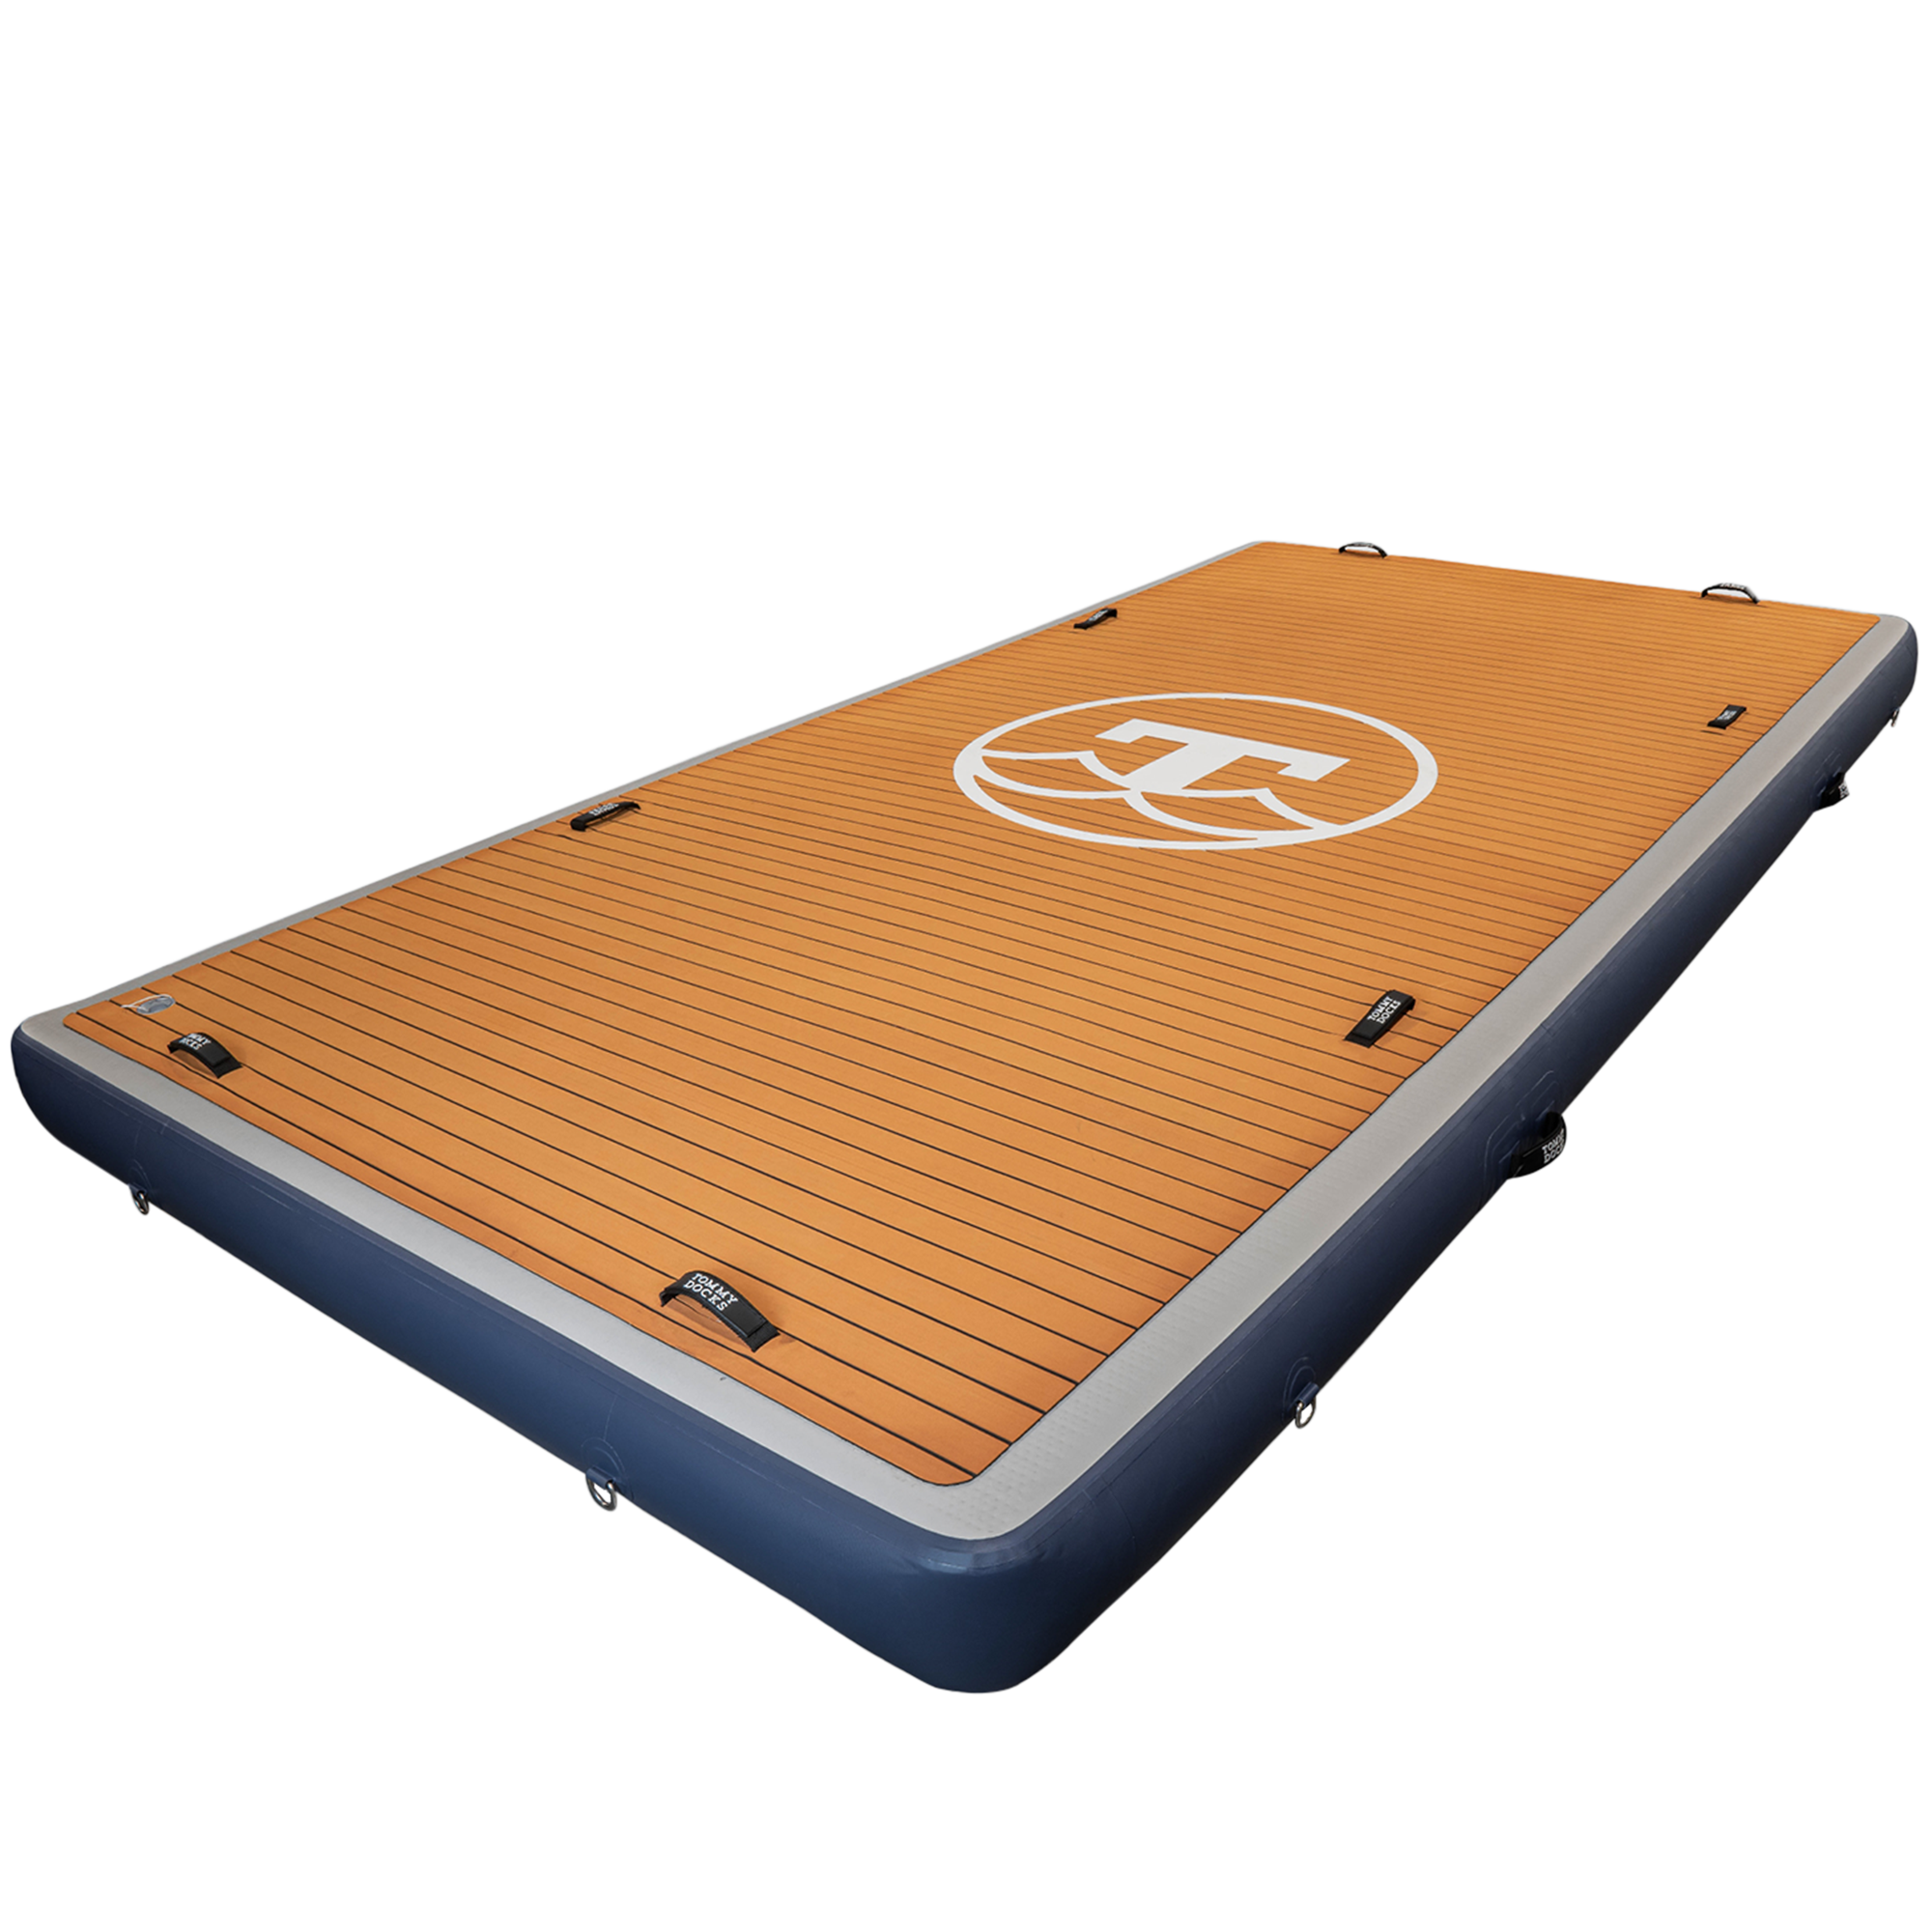
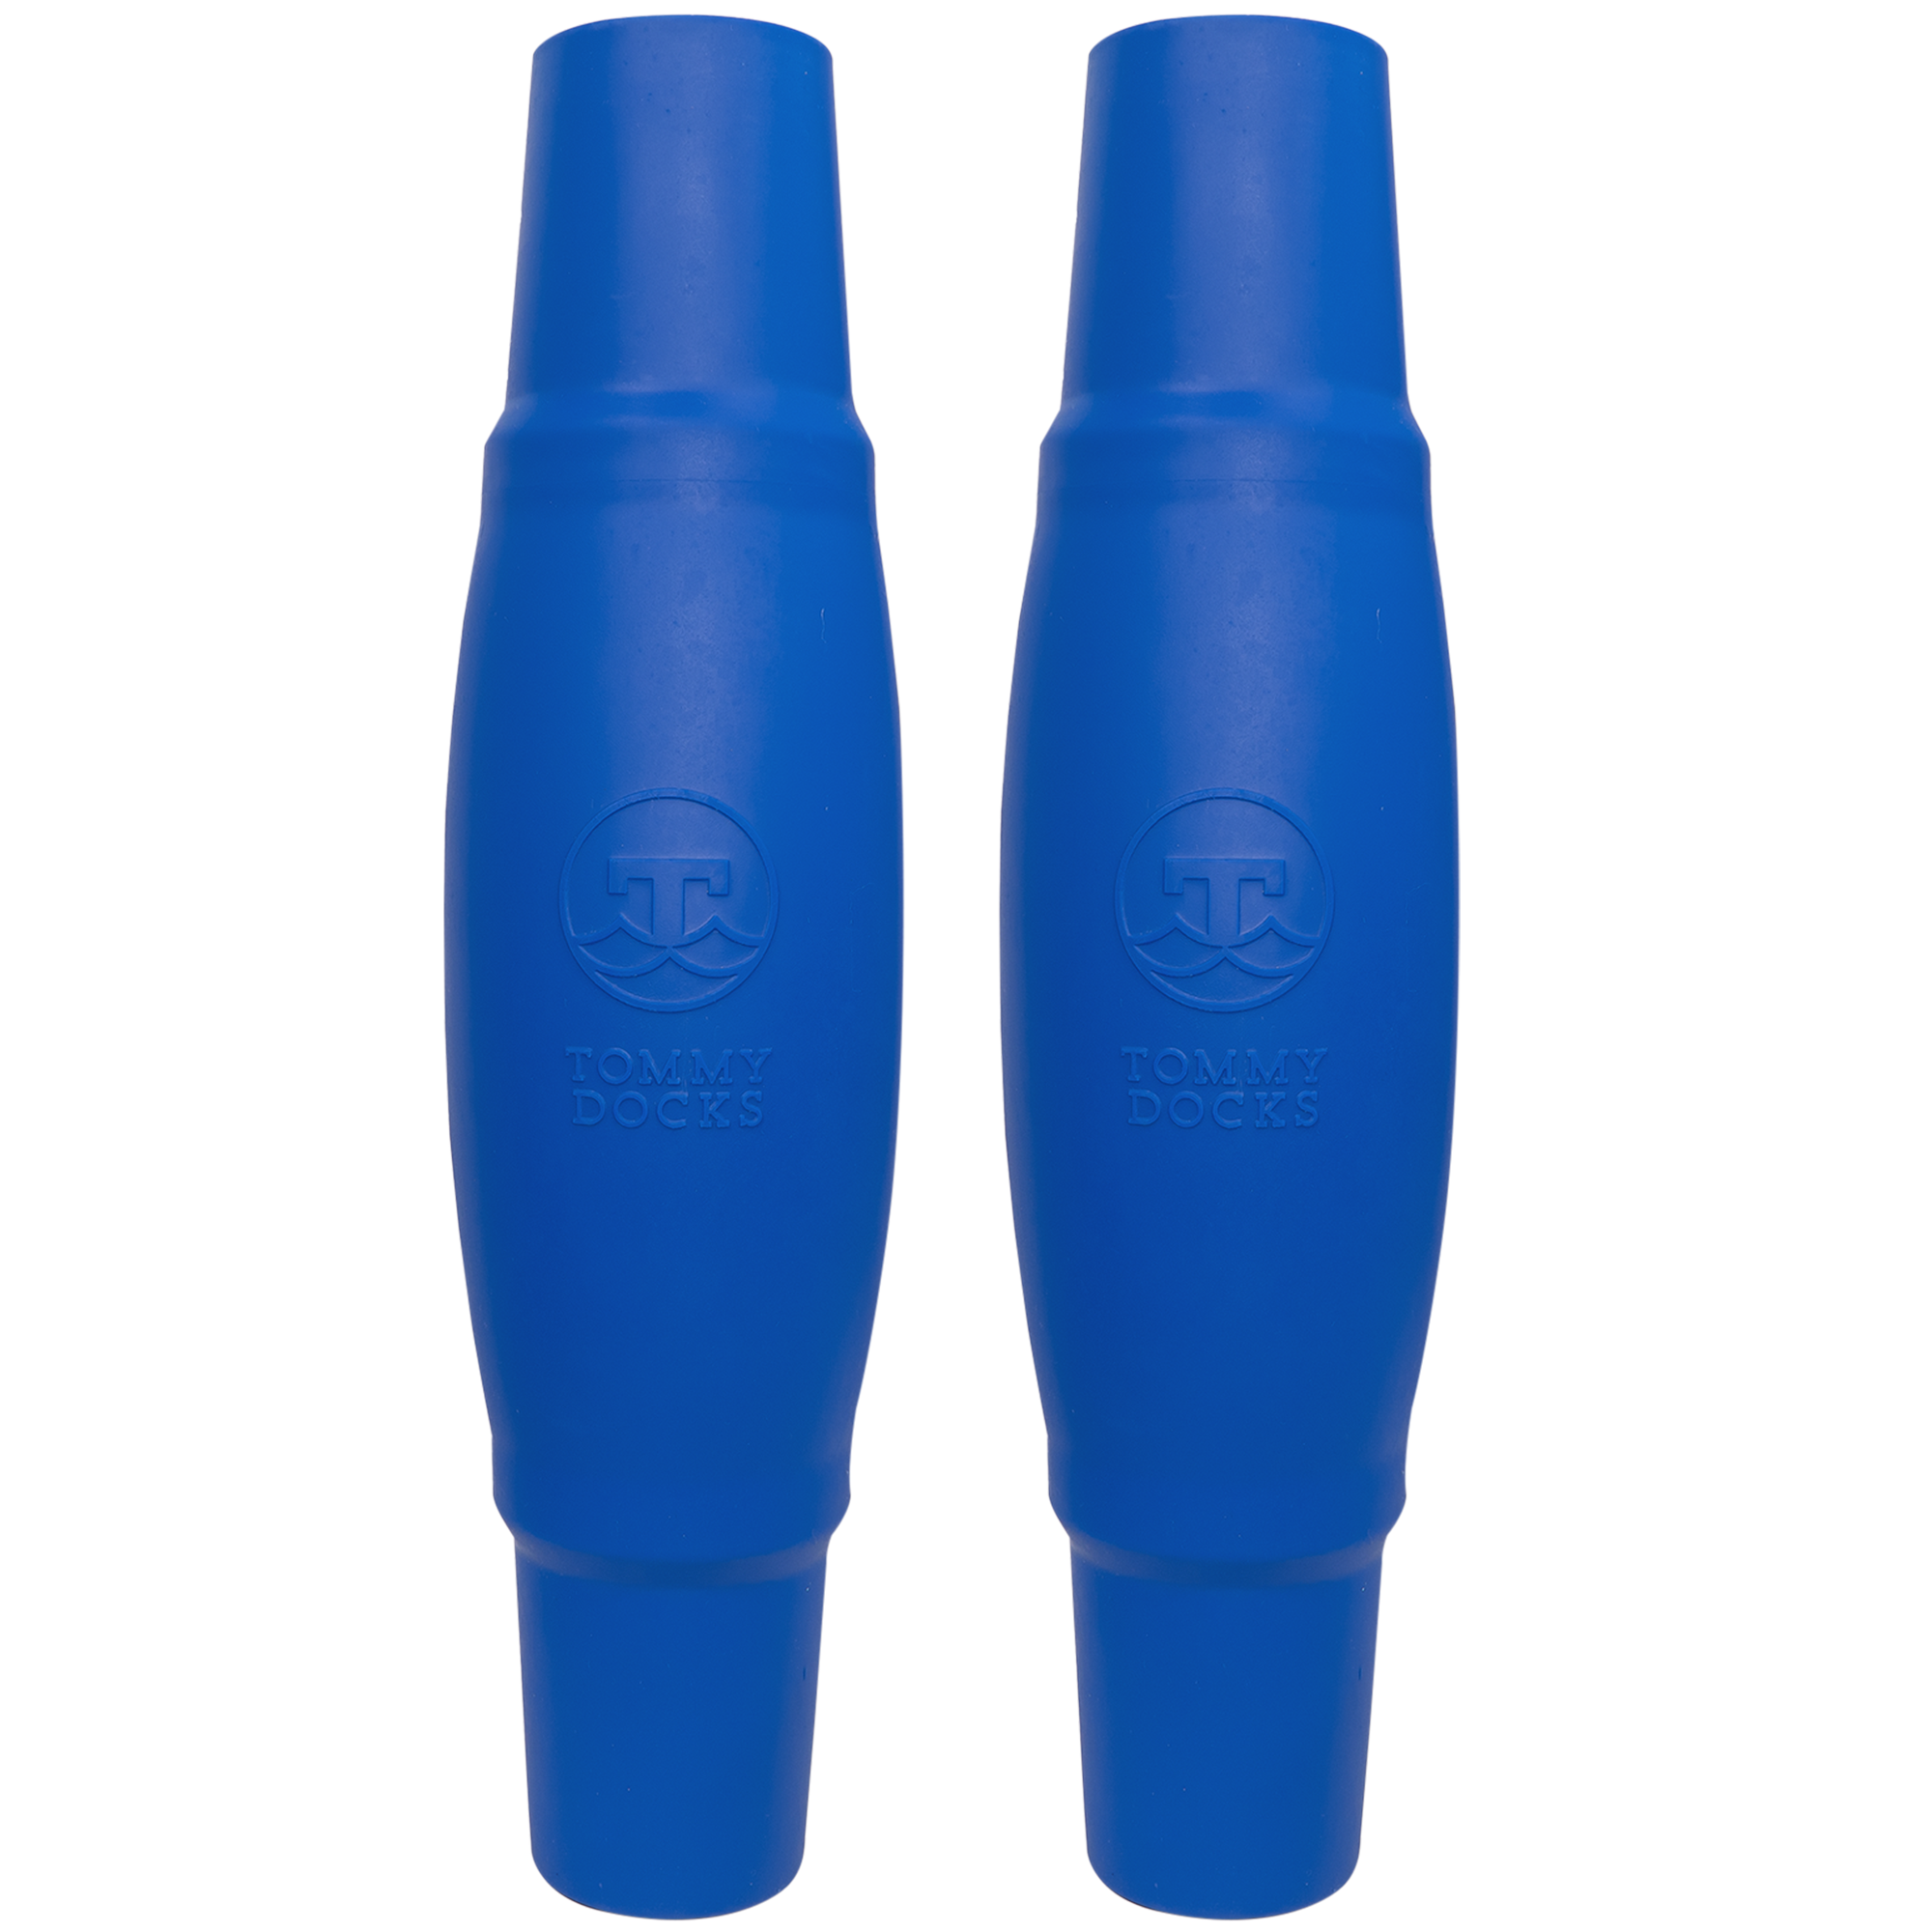
If you’d like to stay out of the water as you add sections or are working in water that gets deep quickly, use flotation logs. Position them under the far edge of the dock section. They will keep the dock afloat, allowing you to attach them without getting wet!
Prepare the next section by attaching the brackets and dock poles. Enter the water and position it in place, and secure it using the bolts provided. Ensure that it is level and the feet are secure before you move to the next section.
For floating docks, ensure floats are spaced evenly and securely fastened to the underside of the frame using marine-grade brackets. Check for level placement to prevent tilting and maintain stability. Using a suction cup tool can help temporarily secure lighter sections on calm days.
Continue adding sections until the dock is complete!
Time to Start Building Your Dream Dock
At Tommy Docks, we’ve got everything you need to bring your dock dreams to life.
Whether you want to build a simple dock for fishing and swimming or something more elaborate for larger watercraft, we’ve got you covered. Our dock packages come with detailed instructions, and there are helpful videos on our website to guide you through every step of the process.
Proper planning helps protect your dock from damage and extends its durability. By accounting for water depth, lake level changes, and environmental conditions, you can create a dock system that truly lasts.
Check out our wide range of complete boat dock packages and find your perfect fit today!


